Documentation - Henshu (Zenbu Edit) for EE2
Installation
- Unzip the zip file you have downloaded
- Copy the henshu folder found at system/expressionengine/third_party/henshu into your system/expressionengine/third_party/ folder
- Copy the henshu folder found at themes/third_party/henshu into your themes/third_party/ folder
- In the Control Panel, go to Add-Ons » Modules and click the "install" link next to "Henshu"
- Install both the module and extension
- You can access the addon from the Modules section of the Control panel.
Update Instructions
- Unzip the update zip file you have downloaded.
- Copy the henshu folder found at system/expressionengine/third_party/henshu into your system/expressionengine/third_party/ folder, overwriting its contents.
- Copy the henshu folder found at themes/third_party/henshu into your themes/third_party/ folder, overwriting its contents.
- In the Control Panel, go to Add-Ons » Modules and click the “Run Modules Updates” link in the top right of the screen.
- The module list should then show the latest version of the add-on.
Enabling access to Henshu for other member groups
As Henshu is a module, to enable access to Henshu for target member groups outside of Super Admins, module access must be enabled.
- In Members » Member groups, click the Edit group link for your target member group
- Enable (set to “yes”) the following permissions:
- Module Access Privileges » Can access module: Henshu
- Control Panel Access » Can access ADD-ONS section
- Control Panel Access » Can access ADD-ONS » Modules
- At the bottom of this page, click the “Update” button to save these settings.
A shortcut to the above is also available from the Permissions section of the Henshu module in the CP.

Usage
- On-the-Fly, Inline Editing of Channel Entries
- Multi-Entry Editing
- Fieldtype Whitelist (deprecated since 0.7)
On-the-Fly, Inline Editing of Channel Entries
In Zenbu
After installing Henshu, visit your Zenbu entry listing in the Control Panel. Hovering on each entry table cell will display a small Edit Icon. Click this icon to enter Henshu's Edit Mode.
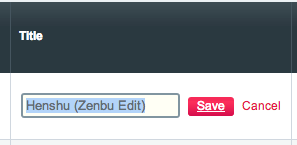
For basic entry data, such as entry title, status, author, date, expiration data, etc, Edit Mode will display an input text or select dropdown to start editing your entry data. Click the Save button, and the cell will refresh with the new data.
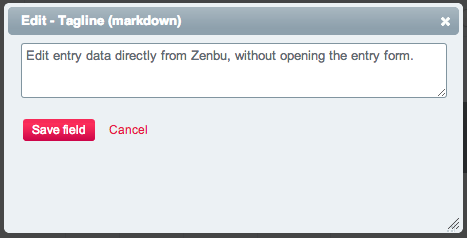
For custom fields, Edit Mode will display a modal window with the selected custom field. After editing the field, click the Save button and the cell will refresh with the new data.
Clicking the modal's top-right "X" button, outside the modal window, the "Cancel" link or pressing the Esc key closes the window and cancels your changes. The modal window is also resizeable from its bottom-right corner if it becomes too small or is too big.
In EE's Channel Entries Section (Zenbu not installed)
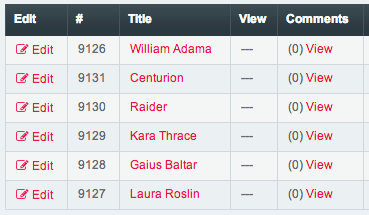
After installing Henshu, visit your entry listing. A left column should appear next to the entry IDs, each containing an Edit link to enter Edit Mode for the corresponding entry.
Clicking the Edit link will display a modal window with a select dropdown field. Select a custom field to edit and click the Edit Field button. The custom field will be displayed on a new page. After editing the field's contents, click the Save button and you are sent back to the EE Channel Entries Section.
Multi-Entry Editing
Multi-entry editing is already supported native in EE, and improved upon in Zenbu. However, editing is limited to a few basic pieces of data: title, url_title, entry date, status, sticky yes/no, comments on/off, and categories.
Starting with Henshu 1.0.0, custom fields can also be edited across multiple entries (used with Zenbu only). This multi-entry custom field editing allows you to set a field to the same value across multiple selected entries. For example, if you have a few entries with a custom field containing "no", you could use Henshu to set all those entries to "yes".
Note: This feature enables setting a field to the same value across multiple selected entries. It does not allow editing of custom fields for selected entries one by one. This will change ALL selected fields to the value inputted in the field, and will overwrite any data in the custom field for the selected entries. This cannot be undone.
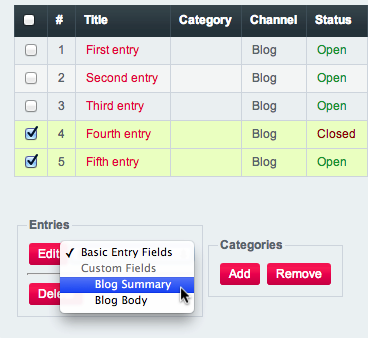
To edit multiple entries (used with Zenbu only), select these entries by checking their checkboxes in the Zenbu entry listing. At the bottom of the listing, select the custom field that you want to edit from the dropdown (you also have the choice to edit basic entry data by selecting "Basic Entry Fields") and click "Edit".
You are then sent to a page with your custom field. This field is initially empty. You may review the entries selected by opening the "View Selected Entries" tab above the custom field.
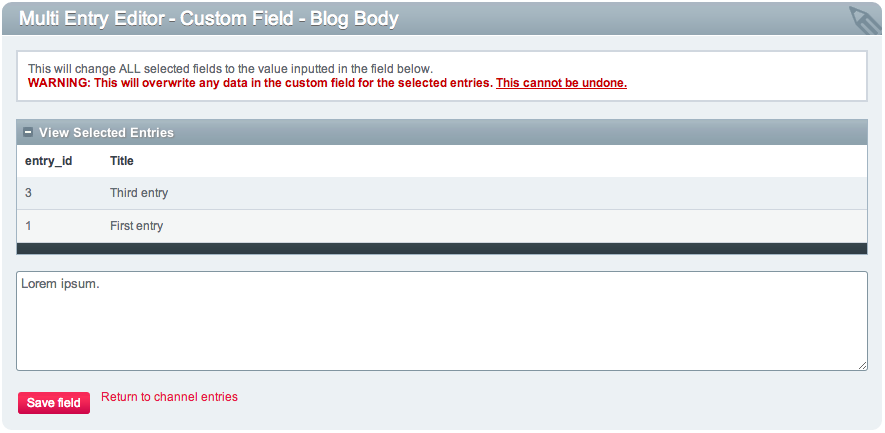
Fill it out with your data and click "Save Field". Selected entries will now contain the data you entered for this custom field. If you submit the form empty, selected entries will now have this custom field empty.
NOTE: This will change ALL selected fields to the value inputted in the field below. This will overwrite any data in the custom field for the selected entries. This cannot be undone.
Fieldtype Whitelist: Initial Setup by Super Admins
Deprecated/Not available since 0.7.0
Henshu uses the EE Channel Entries API to update entry data. Some custom fields may expect data formatted in a specific way before saving to the database, which the API may not handle correctly. This can result in deletion of this custom field's entry data.
To prevent data accidental data deletion, Super Administrators (only) are asked to test and whitelist custom fieldtypes before using Henshu in channels that contain them.
You can whitelist fieldtypes that you are sure do not lose their data if another entry data element is edited from the left table. When all fieldtypes for a channel are whitelisted, channels on the right will be marked with a green checkmark. Channels with a red cross are not whitelisted and Henshu cannot yet be used on them.
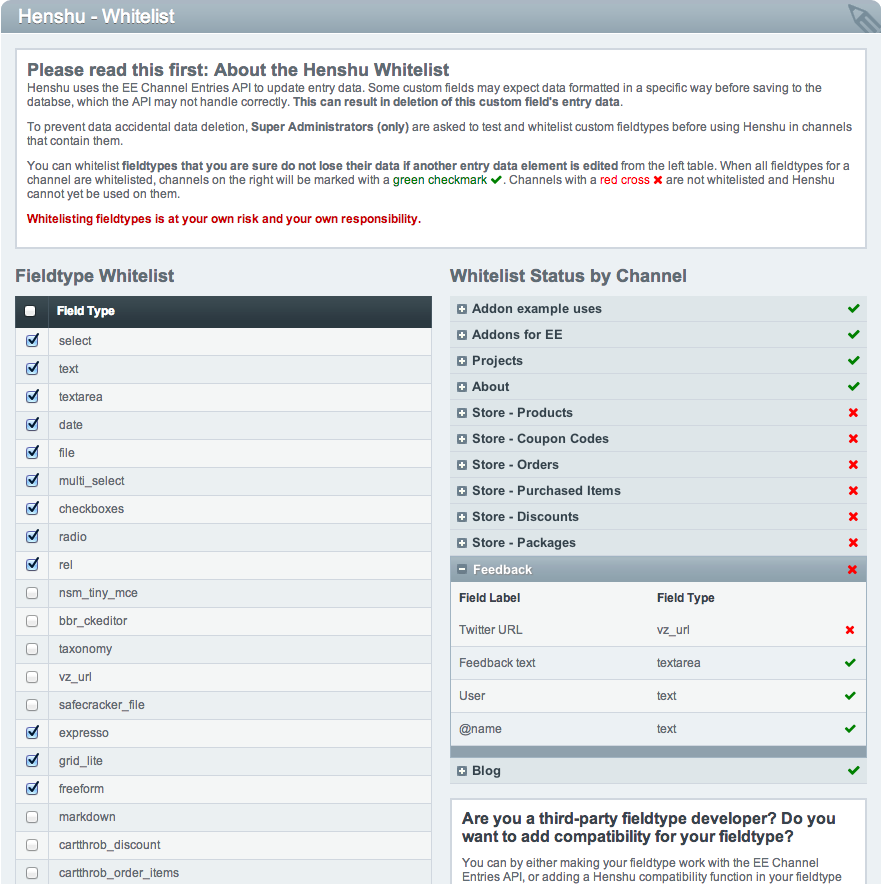
Whitelisting fieldtypes is at your own risk and your own responsibility.